
Guide to Visible Mending Ideas & Techniques
Visible mending is a creative approach to repairing worn or damaged clothing. It's a practical skill that combines sustainability with self-expression, allowing you to transform imperfections into eye-catching additions and extend the life of your clothes.
In this blog, we'll explore various visible mending techniques and share ideas to help you breathe new life into your clothes.
What is Visible Mending?
Visible mending is exactly what it sounds like. It’s a method to mend clothes in a way that keeps the repairs visible. Rather than hiding the fix, visible mending allows you to add handmade additions – ones that often make the clothing look better than before.
In our fast fashion world, we often discard clothes rather than mend them. But this way of living is creating a problem for our planet. The average Briton buys 26.7kg of garments yearly. The water needed to produce this amount could supply a typical UK household for over 18 months. (Source: Oxfam)
Visible mending offers an alternative, reducing waste and showing love for the items we own.
Visible Mending Techniques
There are so many visible mending techniques you could choose, from very simple stitching to intricate embroidery designs. They can be used to fix or update a variety of different garments – from jumpers and jeans, to socks and hats.
You don’t need much to get started with visible mending, a sewing needle and a bit of yarn will do. But if you’re eager to create something a little more complex, an embroidery ring, patches and appliqué, or a tapestry needle could be helpful.
For a great source of second-hand sewing items, check out Oxfam’s sewing, knitting and haberdashery products.
Here are our three favourite visible mending techniques for you to start with.
Adding A Patch
This is probably one of the easiest methods of visible mending so it’s a great place to start, especially if you’re not feeling confident with a needle and thread. Plus you can grab so many kinds of patches second-hand for a great price.
- Place your patch over the hole, or wherever you want your patch to be, and pin it in place. We recommend ironing your garment flat before you begin sewing your patch
- Thread your needle, and begin sewing from the inside of the garment to hide your knot. Use small, even stitches going around the edge of the patch to hold it in place.
- If you feel it is necessary, reinforce the patch by sewing a few additional stitches across the centre.
It’s that simple! In less than an hour you’ve saved your garment from landfill and added a personal touch.

Sashiko visible mending
A traditional Japanese method, Sashiko is a visible mending technique that uses running stitches to create patterns that reinforce and mend fabric.
- If you’re using this method to mend clothes, begin by pinning a piece of fabric to the back of your garment, covering the hole. Thread the needle and similarly insert it from the inside of the garment.
- Pull your needle through and create multiple stitches along a line in a pleating motion, push the needle through making sure the stitches aren’t pulled tight. Continue with this method for your entire line.
- At the end of the line, start a new row stitching in the opposite direction. Continue stitching in this way until the entire patch is attached to your fabric, and your hole is covered.
You can use the Sashiko stitch to create a variety of different patterns.
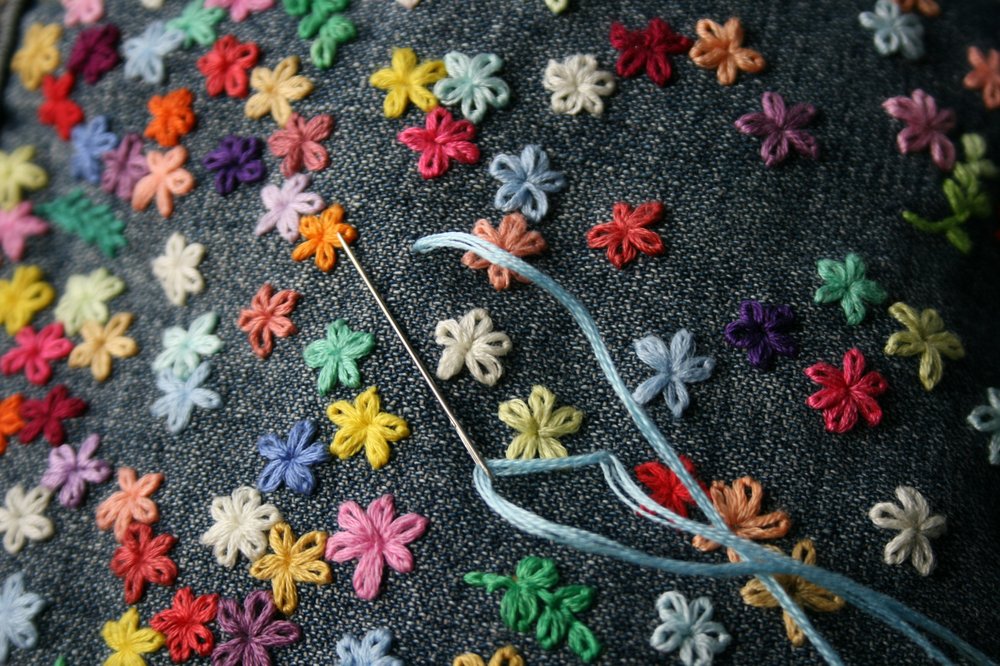
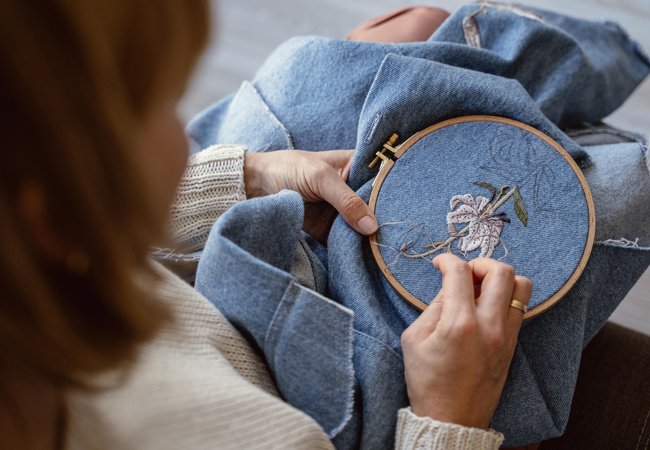
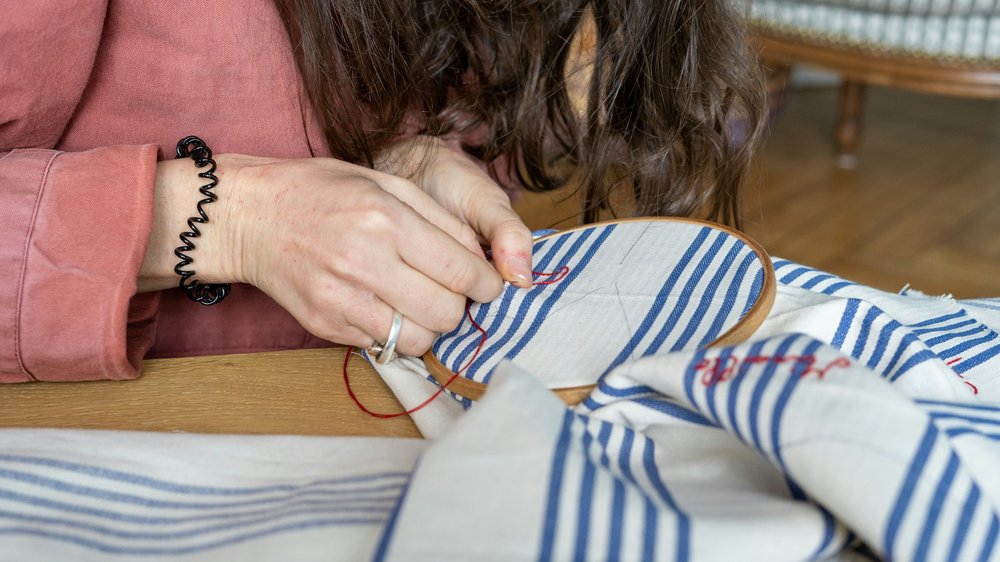
Visible mending embroidery
Embroidery is a way to add decorative designs to your garment to cover a stain, hole or rip. This method does take more time than the other two, but you can get really creative with the additions you can add to your clothing.
- Choose thread colours that complement or contrast with your fabric, as desired.
- Secure your fabric in an embroidery hoop for stability. Thread your needle and knot the end.
- Start stitching from the back of the fabric, covering the damaged area with your chosen design.
- Work your stitches closely together to fully conceal the imperfection.
- Create patterns or shapes that naturally incorporate the damaged area.
- Finish by securing your thread on the back of the fabric with a small knot.

Visible Mending Ideas
Got the visible mending itch but not sure where you could start? How about fixing the weakened thighs in your jeans using the Sashiko method.
Similarly, you can breathe new life into a shirt or dress by printing out and embroidering a unique pattern onto the front.
Or if you have a larger hole in an item of clothing you love, you could use the reverse appliqué technique to place a background fabric behind the hole and create a peep-through pattern.
–
Ready to give visible mending a try? Explore Oxfam's Online Shop for unique pieces perfect for upcycling.